Microsoft Planner is a great way to create plans and work on them together with coworkers. The software includes a very nice mobile app which allows users to quickly access plans and upcoming tasks. In this article, I’d like to share three tips that I find very useful when working with the Planner application.
Tip 1: Link to Office 365 and MS Teams (current or new)

If you are completely new to Microsoft Planner, you will be presented with the nice image shown here.
The text underneath states that Planner is “A simple, visual way to organize teamwork.” Let’s emphasize teamwork because, with the creation of a new Planner plan, you automatically create an Office 365 group, which can be extended to integrate with Microsoft Teams.
If you aren’t familiar with Teams, look at this Microsoft video explaining what Teams can mean for your organization.
Planner can be included as a tab in a channel on Microsoft Teams. There are also ways to include multiple planner plans on a single team and/or channel to extend the capabilities of the team. Plus, you can work on multiple activities together.
There are two ways to link up Teams and Planner. It’s related to your starting point. Either create the Team first or create the Planner plan first. Let’s have a look at both:
Starting with a Planner Plan
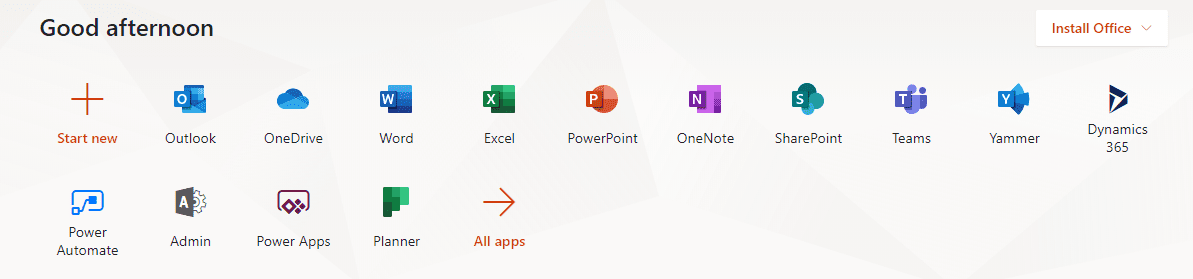
Creating a plan is easy. Go to your Planner hub by navigating to https://portal.office.com. Then, click on the Planner icon (you might need to select All Apps first).
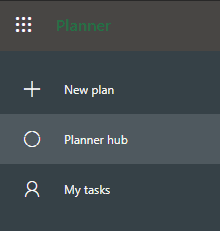
From here, click on New plan.
I’m going to create a new plan and call it MPUG Planner example. Because I want to have this plan only accessible to a specific team, I will choose Private. If you select Public here instead, you will automatically share the plan with everyone in the organization.

Once I’ve clicked on Create plan, I automatically create an Office 365 group called “MPUG Planner example,” which I can now use to create a new Team, extending Planner’s capabilities with Microsoft Teams functionality.
I’ll navigate to Microsoft Teams, and select the “Join or create a team” button on the bottom left. I’ll click on the first option, “Create a team.” In the new menu, I’ll select “Create from existing Office 365 group or team.” On the next menu, I’ll select Office 365 and find my newly created group.
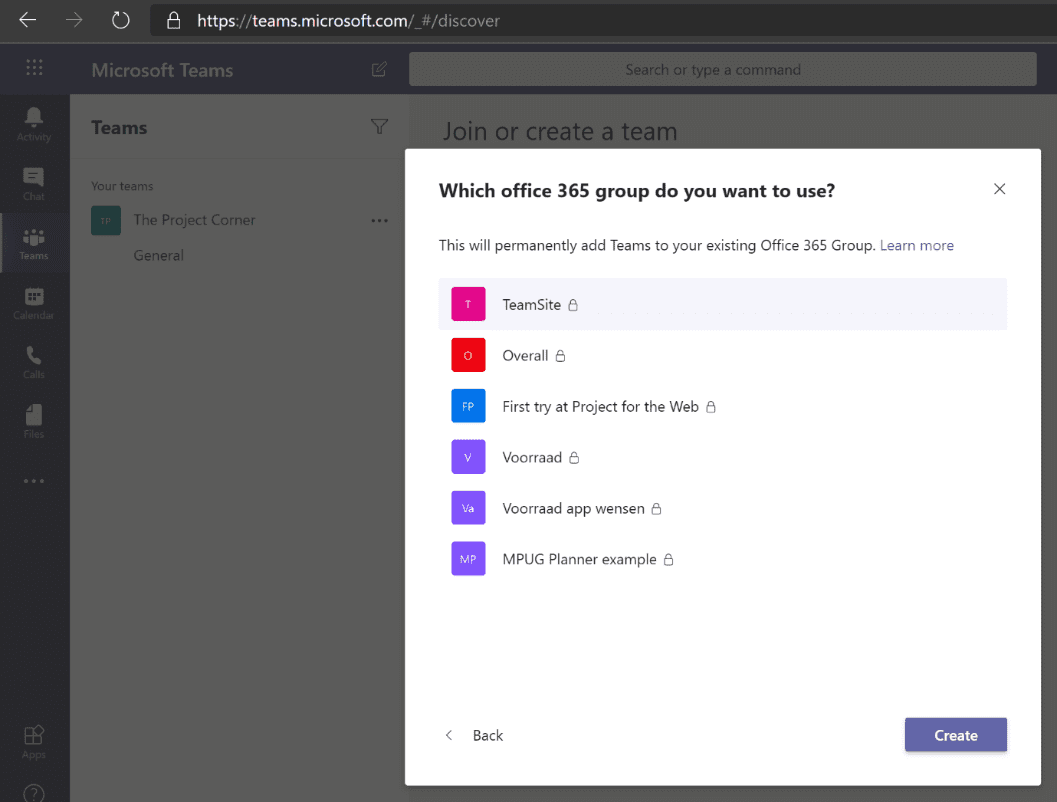
As you can tell by the screenshot, I see multiple Office 365 groups that I am an owner of, and I can create teams based on any of these. For this example, I’ll Create a MPUG Planner example team.
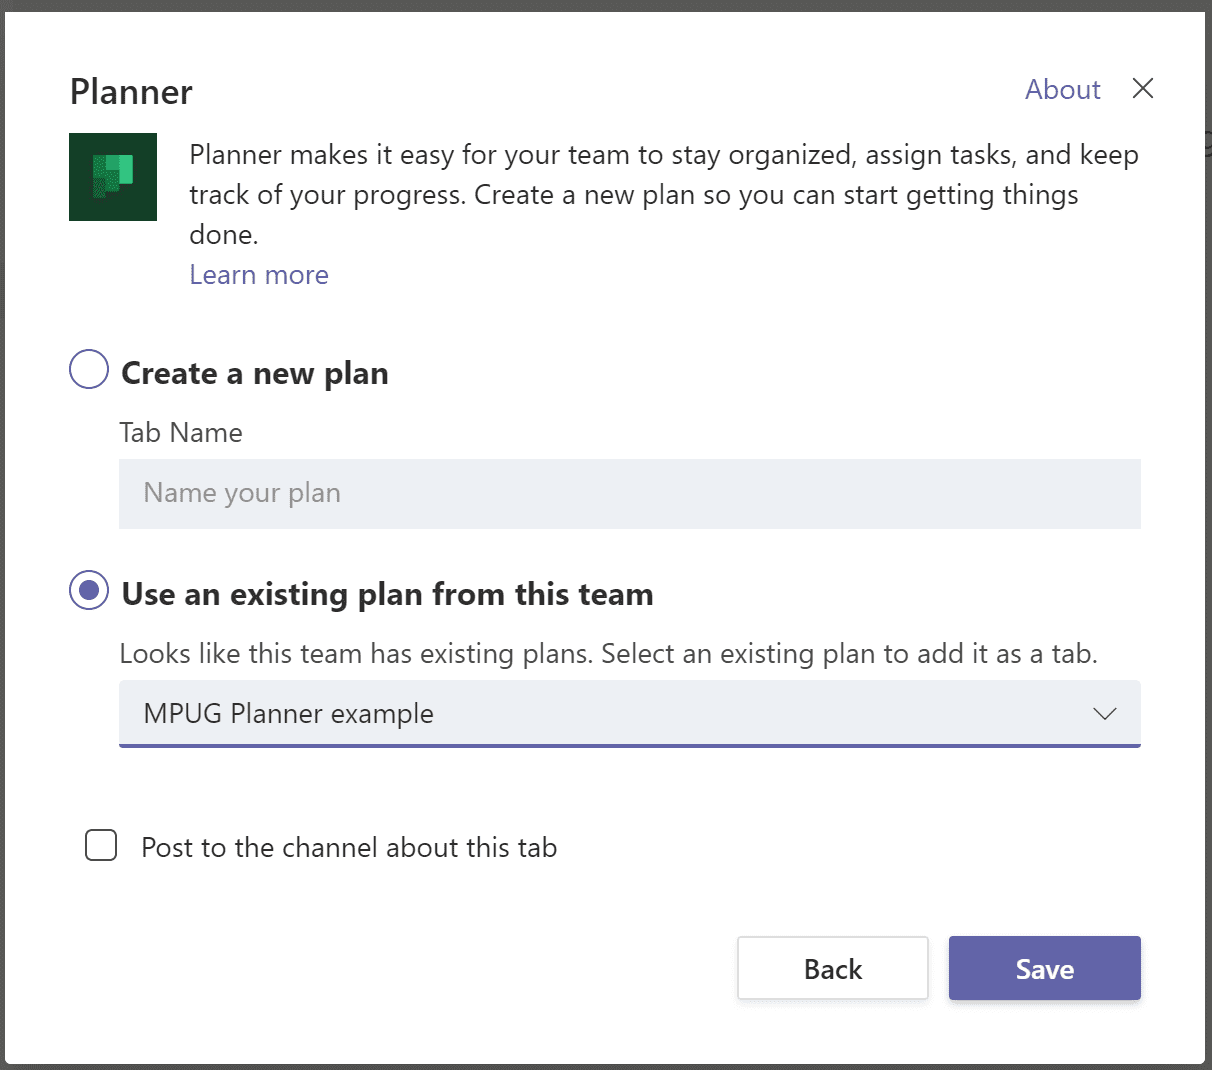
Once that Team is created, I’ll open up a new tab making sure that I select the Planner icon. From the new menu, I’ll select the “Use an existing plan from this team” option to link up to the plan I created before.
Starting with a Team
Working from Teams towards a new Planner plan is even easier. You will only have to navigate to the channel you want to integrate with Planner. Open a new tab and select the Planner option. Here you have the option to “Create a new plan” directly.
This is a great way to go about it because the plan will automatically include all the users from the Channel/Team you are on. Regardless of which way you go about set up, all your team members will be added.
Tip 2: Use a Power BI Template for Reporting on a Plan
The Planner app already contains a very nice little dashboard with some visualization on how your plan is progressing, but you might want to customize or include visuals of your own–maybe even a mobile Power BI dashboard.
Luckily there are MVP’s like Ben Howard to help you out. On his website, Ben shares an excellent guide on how to use the Power BI dashboard effectively. And, he is even regularly updating the it. On February 4th, he added the priority field. Ben has made it very easy for you to create a report of your plan that goes beyond the default visuals of Planner.
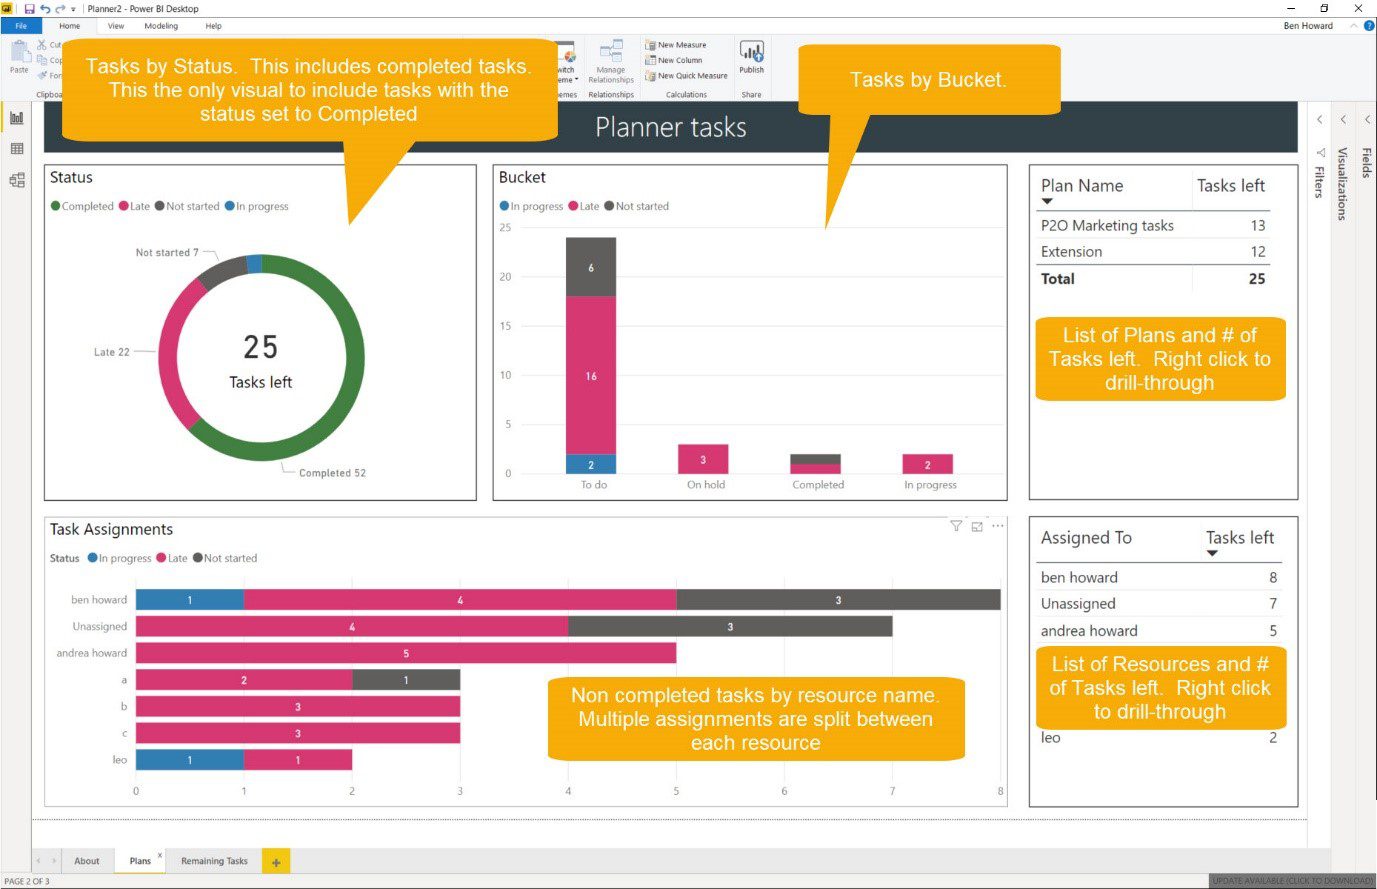
The latest version of his Power BI template even includes the new Decomposition tree visual you might have seen in one of my more recent YouTube videos. Note that you may need to update your version of the Power BI desktop before you can use this section.
With this template as your basis, you can start exploring your data in more depth, maybe create some additional slicers, and/or ad a new visual to your file. Please give Ben a big thumbs up if you decide to use his template for your plans.
Tip 3: Use the Start and Due Dates for a Calendar View
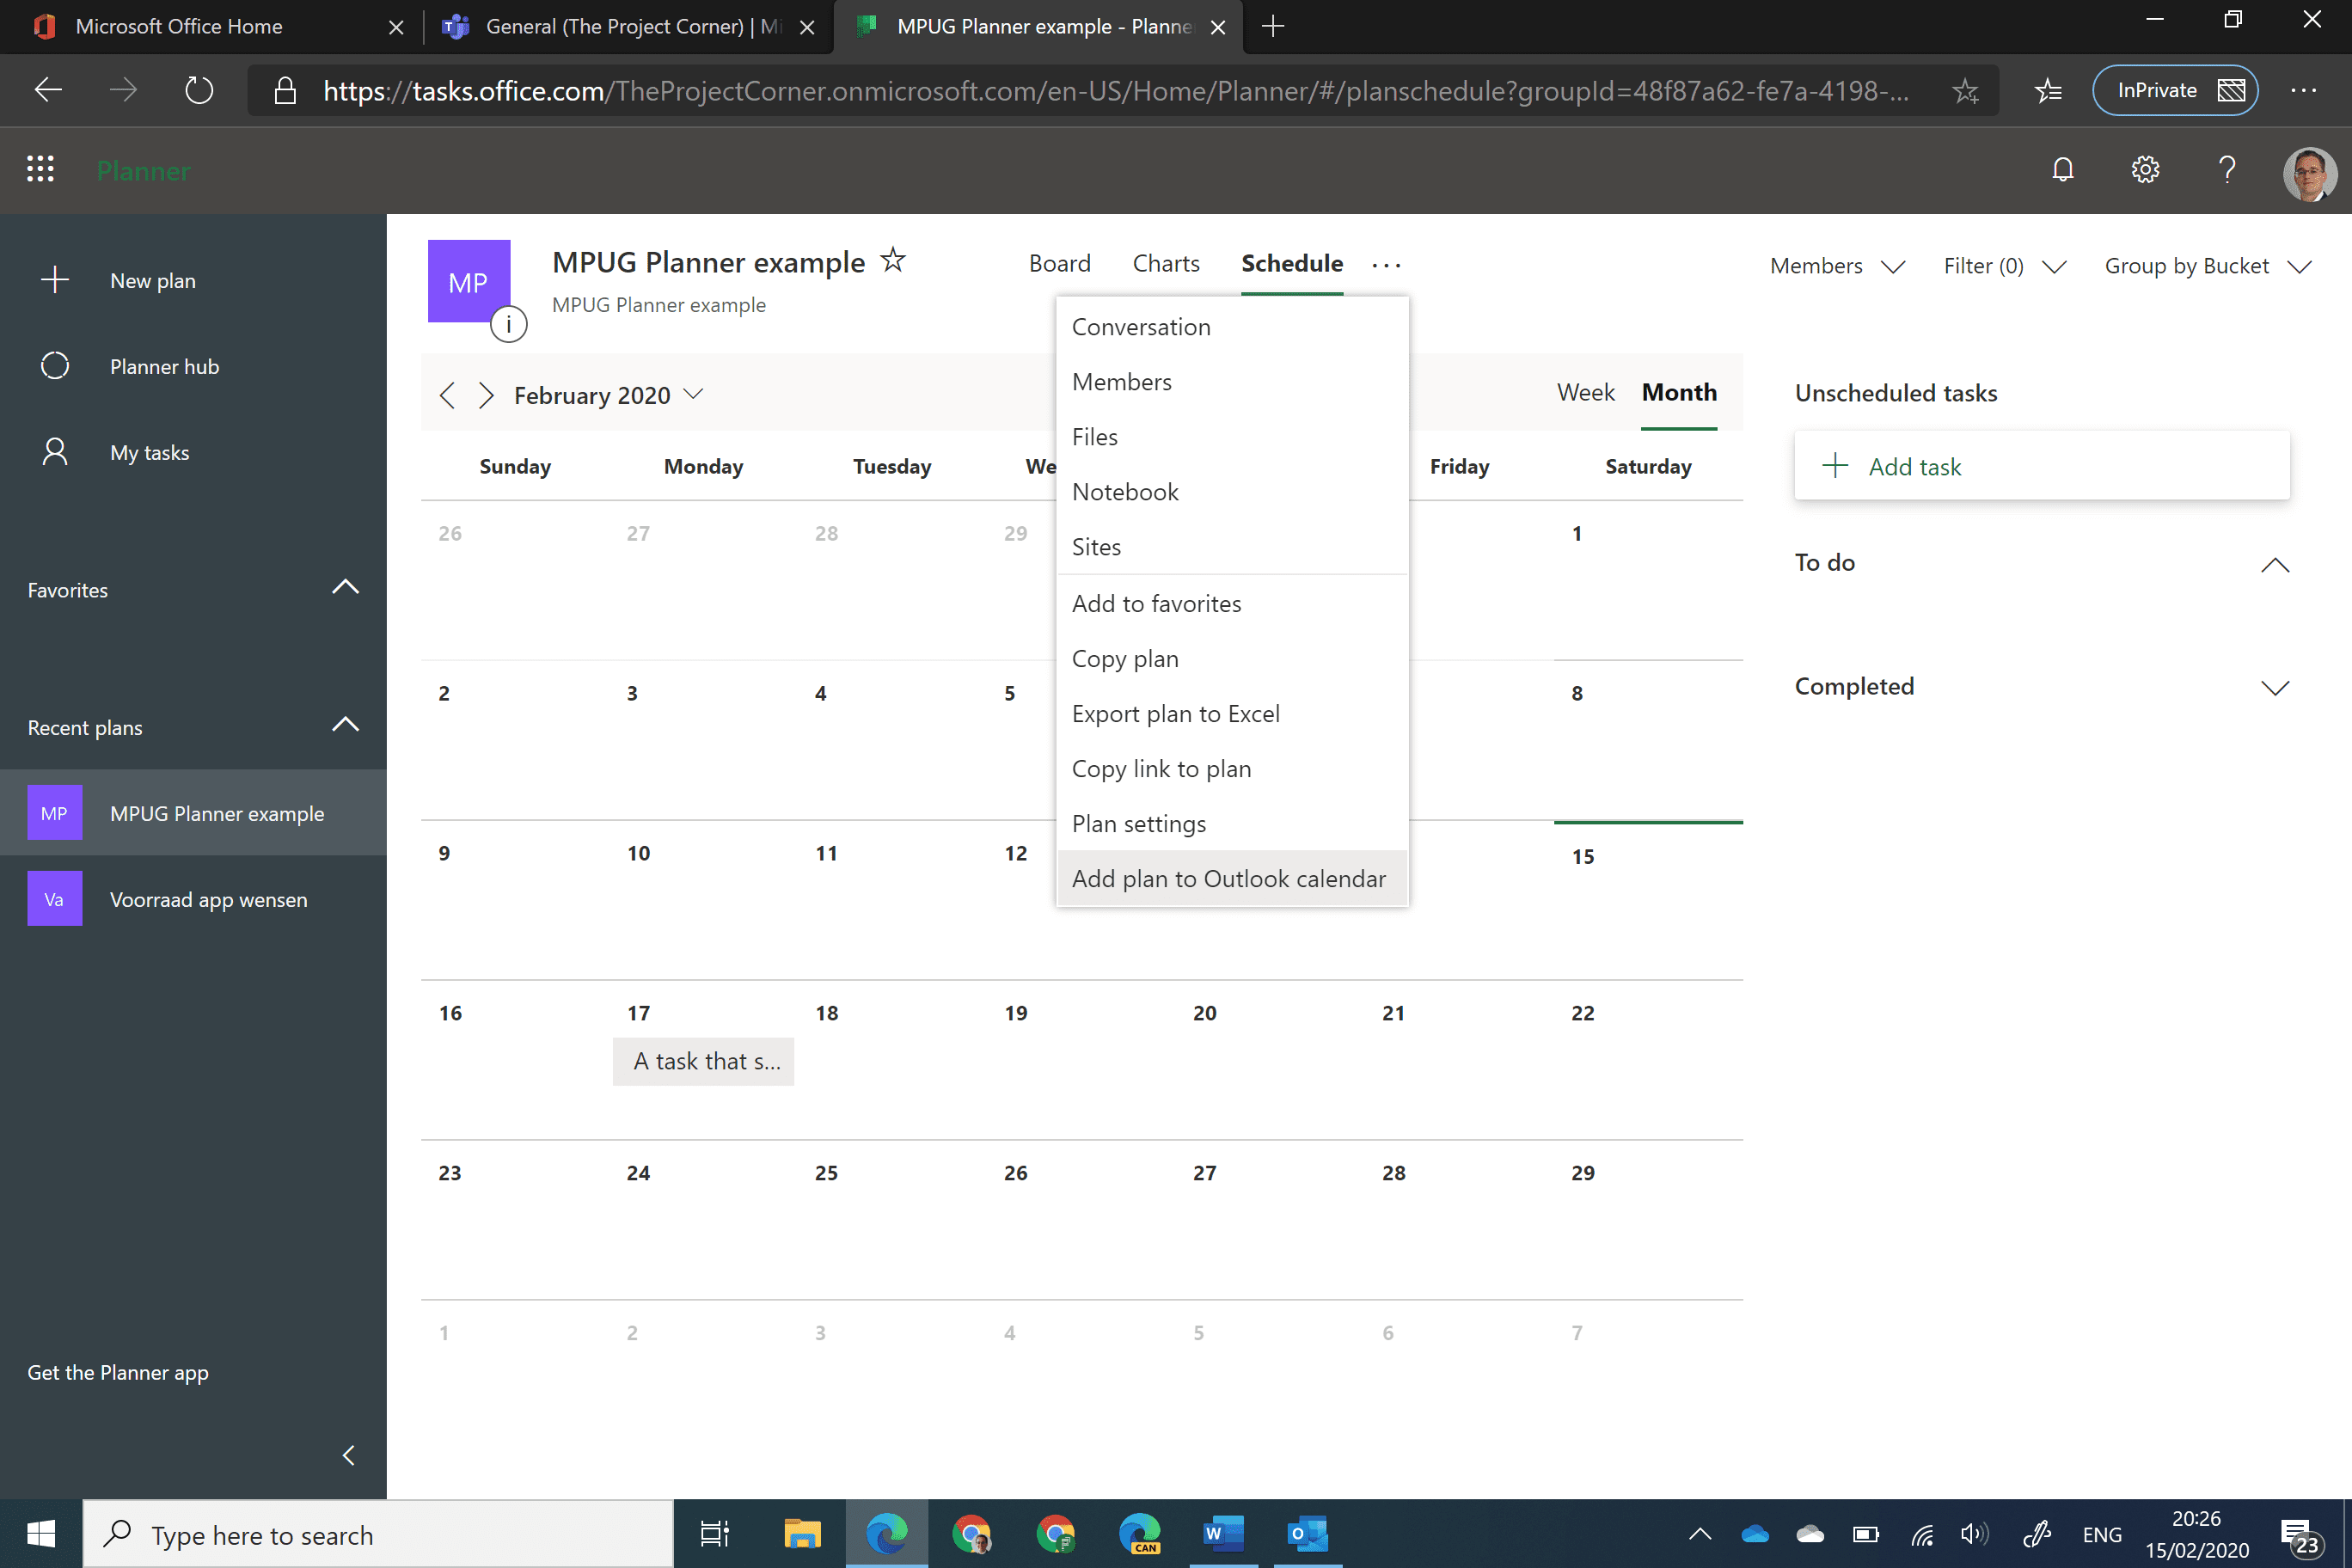
Microsoft Planner is quite new, and as with all the new products Microsoft puts out, you are sure to see improvements over time. One such update is the Calendar view that was added last year.
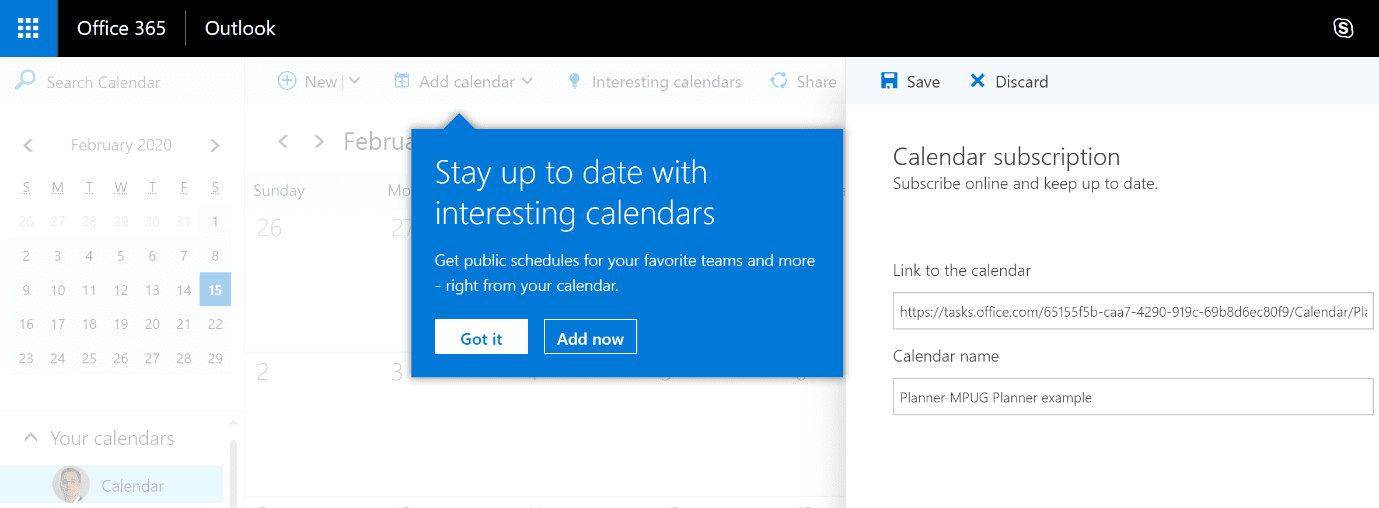
The view by itself isn’t that interesting, or even useful if you ask me. Planner is ideal for Kanban visualization of plans, and the calendar is more along the lines of what we know and like in Microsoft Outlook (or other mail client). The cool thing here is that Microsoft has us covered. There is an option to add the plan to your Outlook calendar:
This opens a new window that lets you publish the plan for everyone that has the specific link to it:
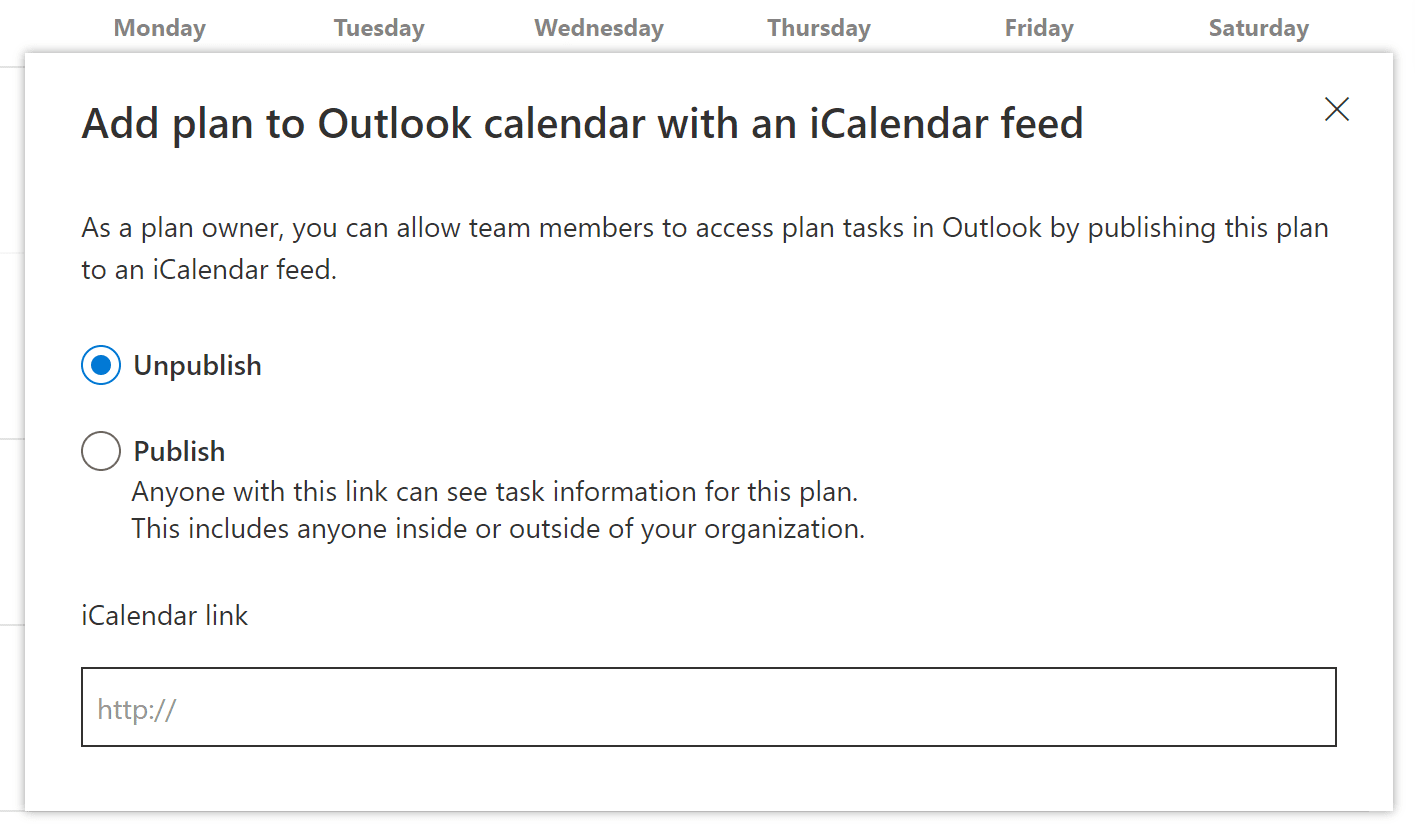
And, this is a link that works with other calendar tools as well, because it’s an iCalendar feed.
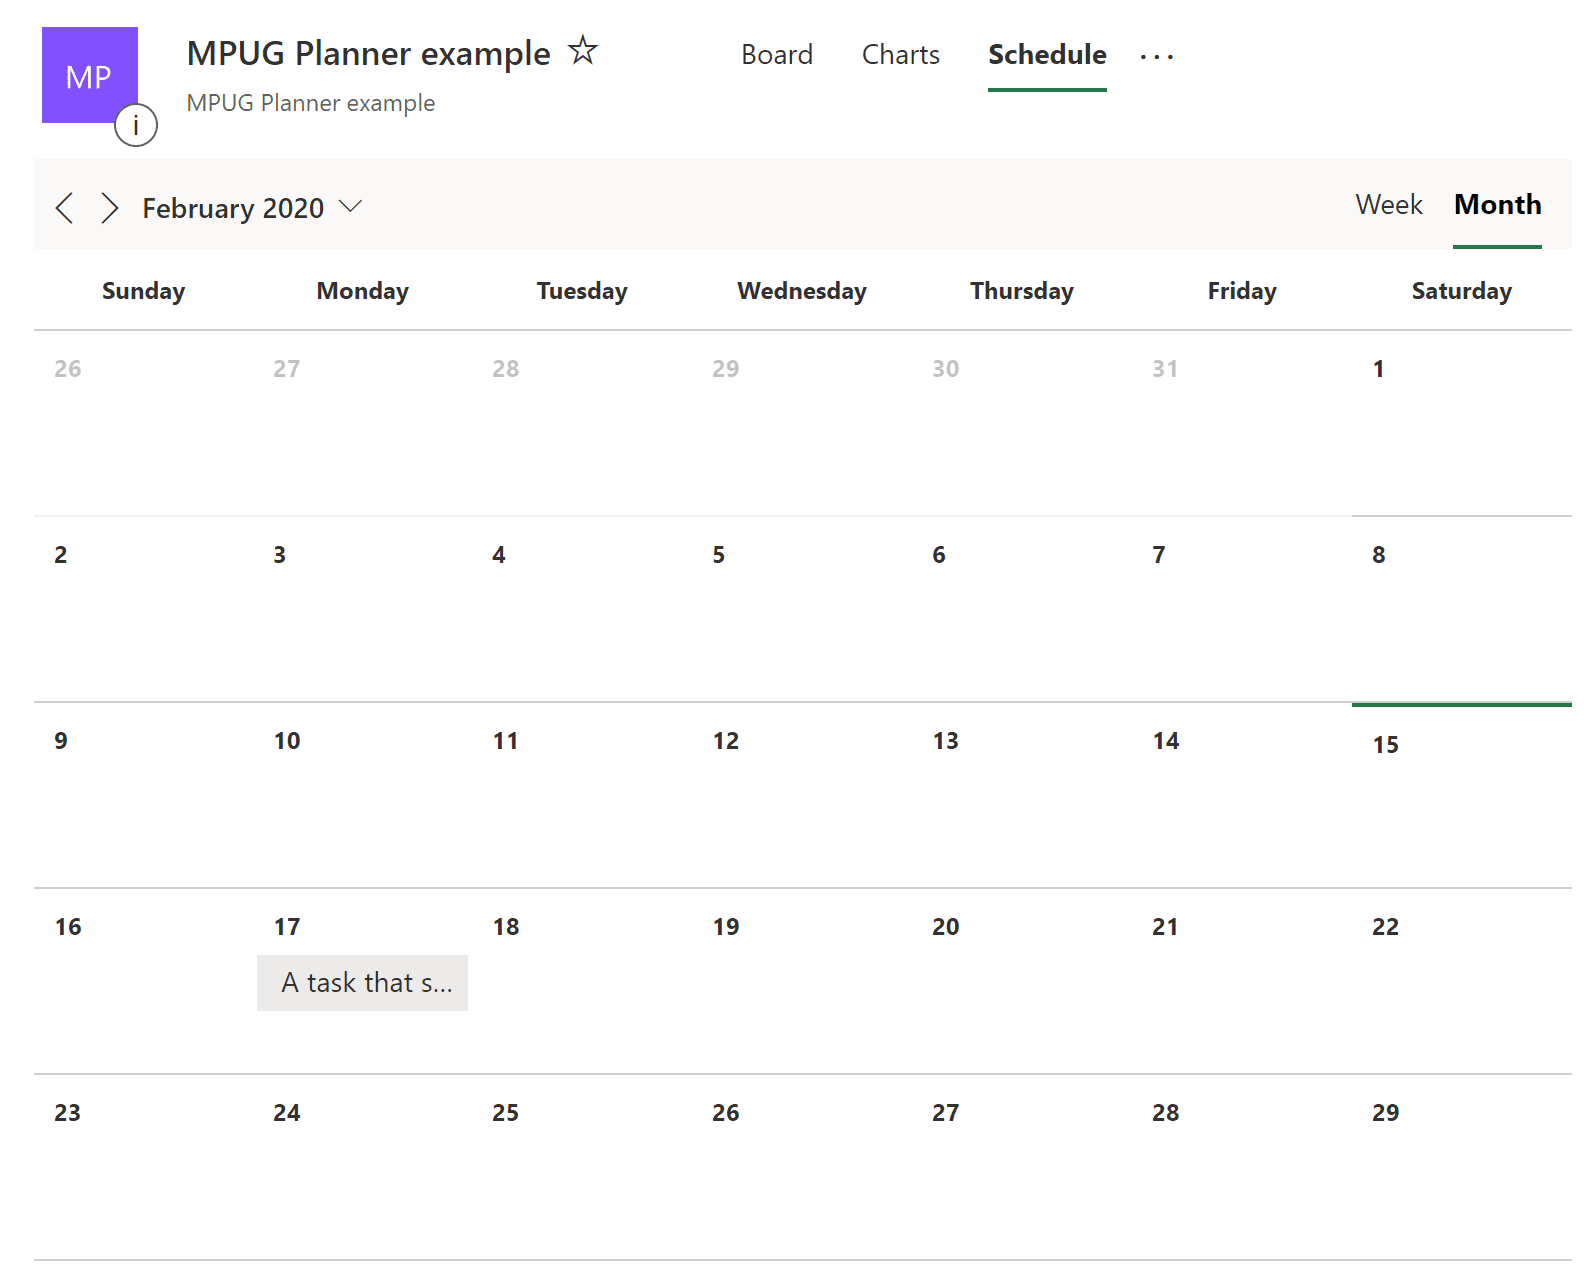
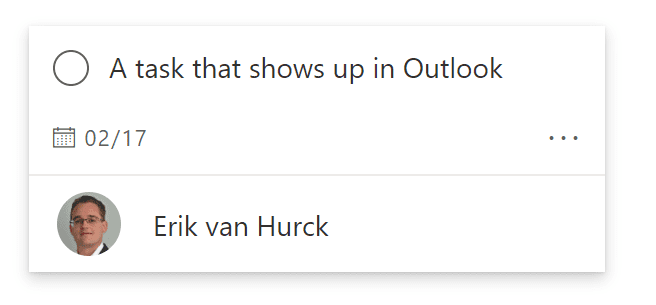
Here’s an example of a task I created in Planner that includes a due date.
After publishing the calendar using the options above, I’m able to access the pictured browser interface:
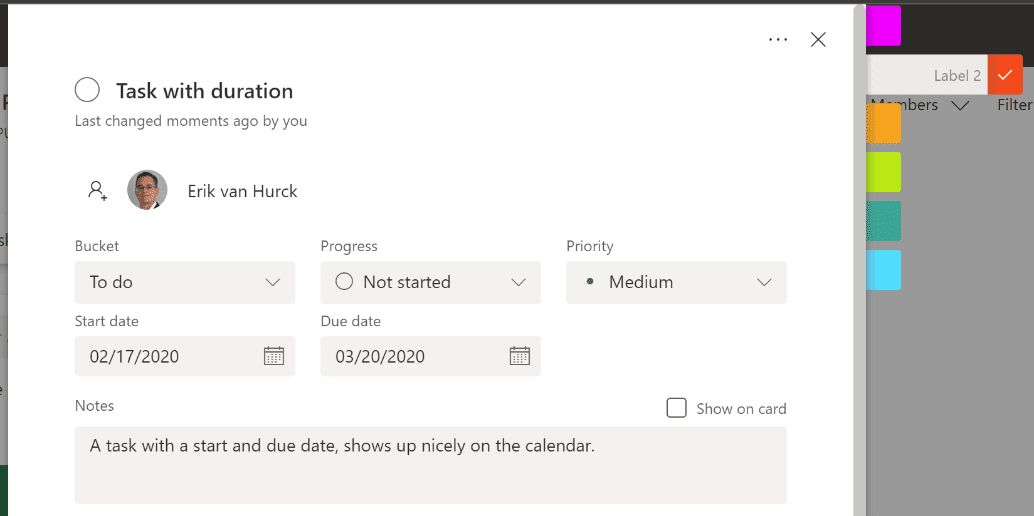
A new calendar shows in my Outlook feed, and I can select or deselect it as needed. New tasks that contain a start, due, or start and due date will show up on the calendar after a brief waiting time (less then a minute in my experience). This image is with one a task on the plan.

After adding the another task, the calendar updates in Outlook, as well.
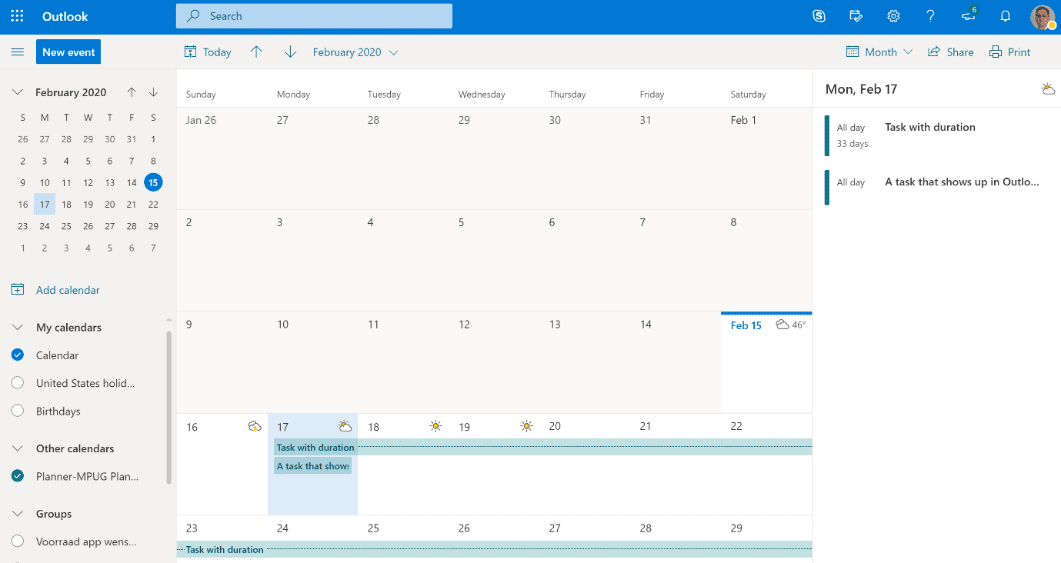
Note, there’s no option to update the tasks from within Outlook yet, but every task contains a link that will guide you to the specific plan and the task that you clicked on allowing you to make edits/updates.
Final Note
Planner is being used by more PMs across the globe every day. There might be further improvements that you’d like to see in the application. Make sure you visit the Planner UserVoice page to support requests or put up your own request for the Microsoft Product Team to work on.
While you are there, might I suggest you vote for this useful request?